Make sure that Linux OS integration is installed before download. If not installed, refer to Install Linux OS Integration document.
OpsRamp agents can connect to the OpsRamp cloud in two ways:
- Direct Agent: The direct agent connects to the OpsRamp cloud directly, and this type of agent does not require any special configuration.
- Proxy Agent: The proxy agents are configured to connect to the cloud using an HTTP proxy embedded in the gateway.
Download Linux Agent
Here we are explaning how to download the OpsRamp Linux Agent for the Ubuntu operating system. You can follow the same steps for other Linux distributions, with minor variations based on the OS type.
Download Direct Agent
To select your client, navigate to All Clients, and click the Client/Partner dropdown menu.
Note: You can search for the client by name or select it from the list.Navigate to Setup > Account. The Account Details screen is displayed.
Click Integrations to view the Installed Integrations page.
Note: If no integrations are installed, you will be redirected to the Available Integrations and Apps page.Click + ADD to add a new integration.
Note: Search for the integration either by entering the name of the integration in the search bar or by selecting the category of the integration from the All Categories dropdown list.Click ADD in the Linux OS application.
Select the Agent Type as Direct.
Click on Ubuntu tile and choose the appropriate package:
- Agent for AMD 64-BIT
- Agent for AMD 32-BIT
- Agent for ARM 64-BIT
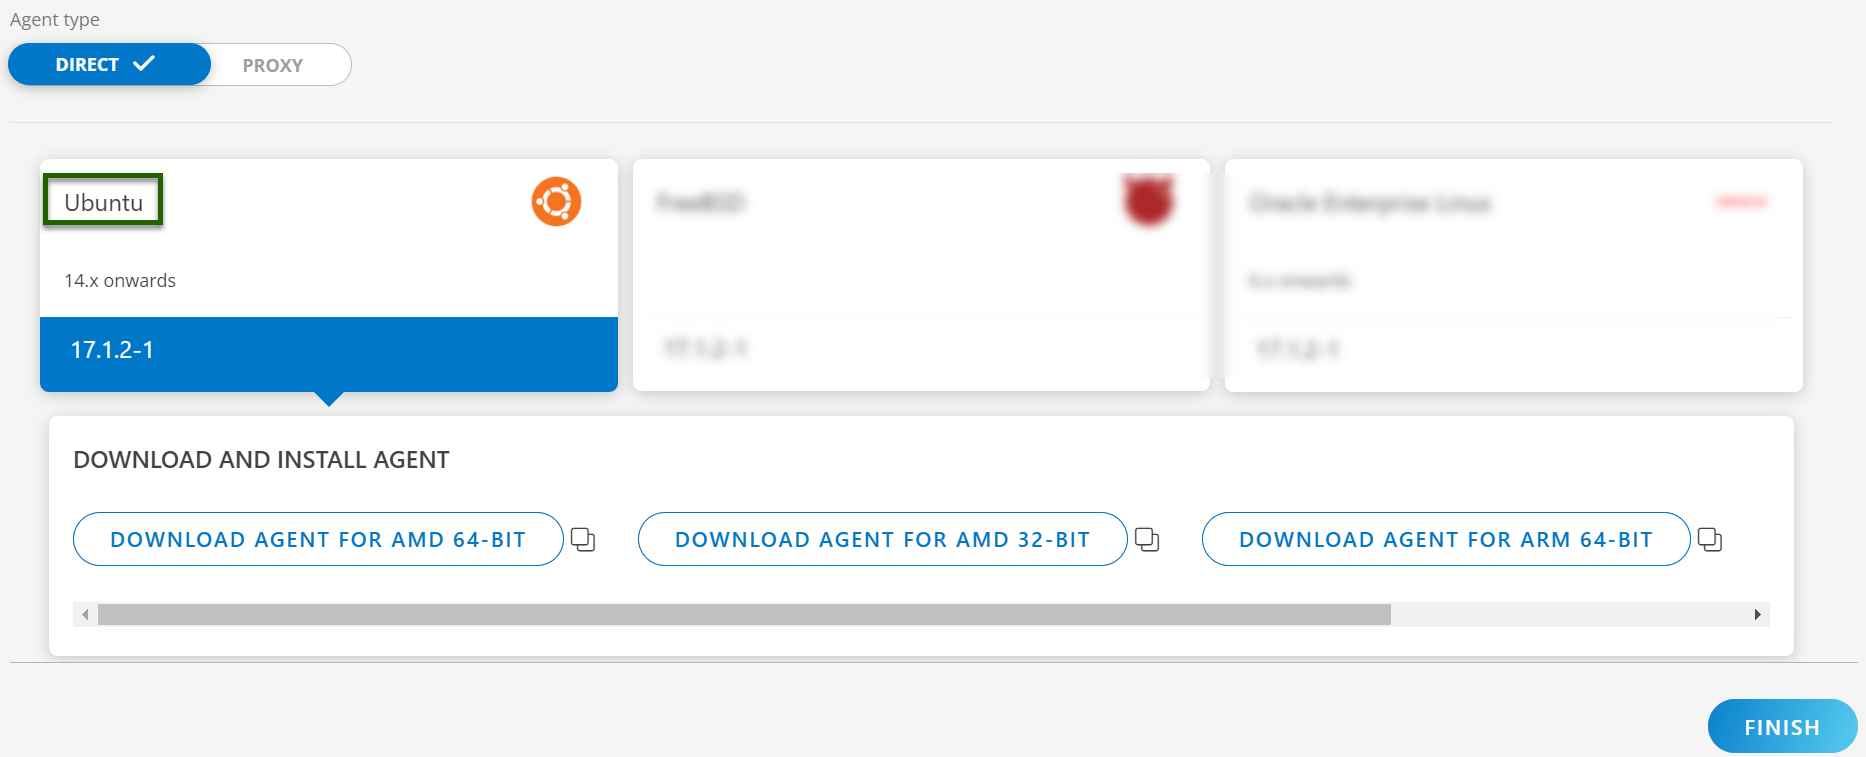
The file is saved in your local system.
Make sure to verify the SHA‑256 checksum of the downloaded file. Follow the below steps:
- Open a terminal.
- Navigate to the directory where the agent package was downloaded.
- Run the following command
sha256sum <agent-file-name> - Compare the generated checksum with the SHA‑256 value provided in the OpsRamp console.
- If both values match, the file is safe to install.
Download Proxy Agent
- From the Installed Integration page, click the Linux OS tile.
- Click the +Add button. The Install Linux Agent page appears.
- Select the Agent Type as Proxy.
- From the Primary proxy profile section, select the Primary proxy profile.
- To include the secondary proxy profile, enable the “Add Secondary Proxy” checkbox. (Optional)
- Once enabled, select the Secondary proxy profile from the dropdown list.
- Click on Ubuntu widget and choose from the following option to download:
- Agent for AMD 64-BIT
- Agent for AMD 32-BIT
- Agent for ARM 64-BIT
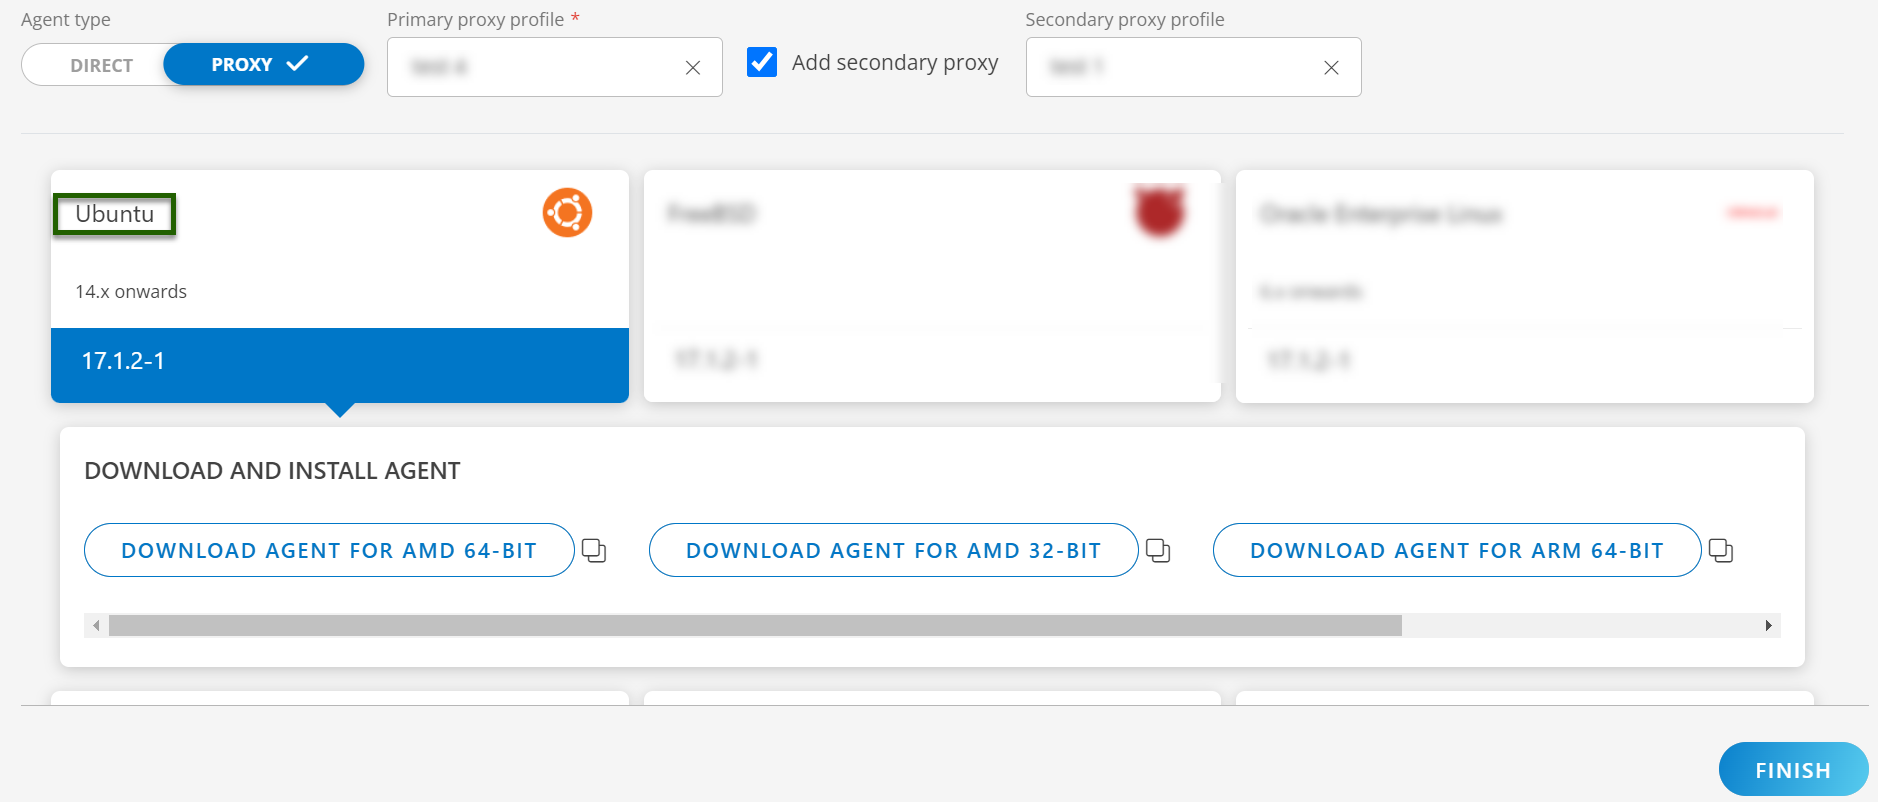
- The file is saved in your local system.
- Verify the SHA‑256 checksum of the downloaded file by following the steps provided above.